

Safe Media Cleanup Workflow
We recommend following this workflow to minimize the risk of accidentally removing assets that are still in use. Experienced administrators may choose to skip steps as appropriate.
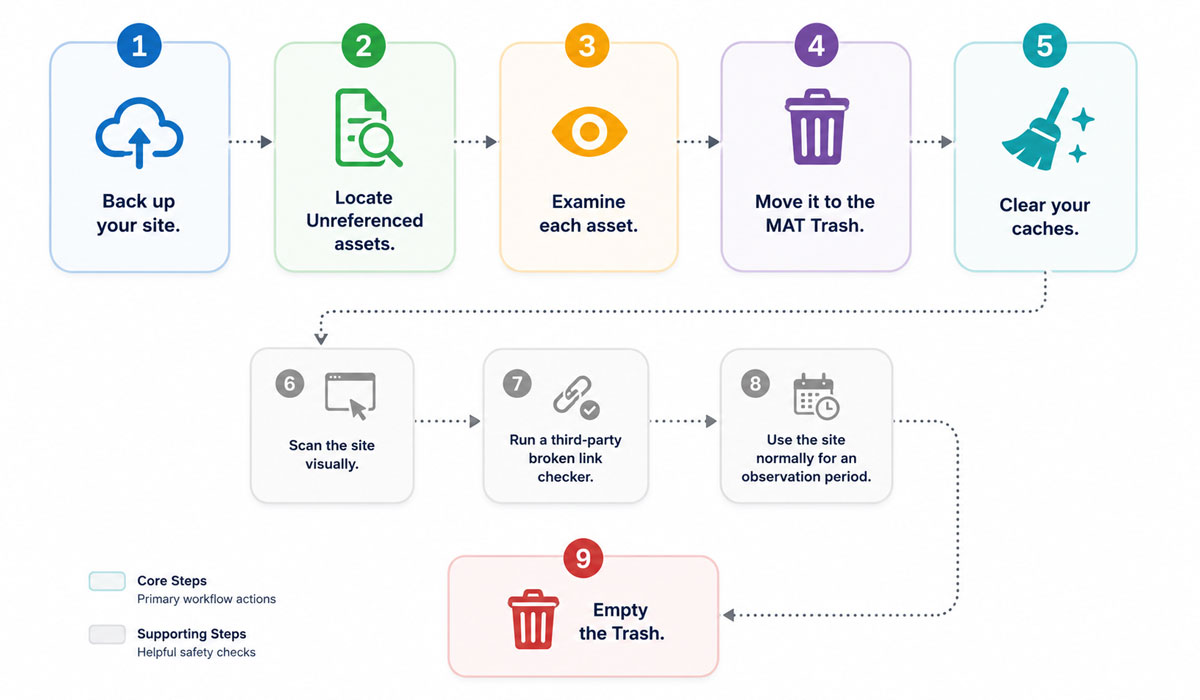
- Back up your site. Always take a full backup before doing any cleanup.
- Locate Unreferenced assets. Open the Digital Asset Inspector and review the Unreferenced list.
- Examine each asset. Confirm it is genuinely unused before acting on it. Some assets may be referenced in ways your installed Analyzers cannot detect. If you are unsure about an asset, leave it alone; it is safer to keep an unnecessary file than to remove one that is still needed.
- Move it to the MAP Trash. Do not delete it outright. Moving an asset to the Trash keeps it recoverable at its original path.
- Clear your caches. Clear any caching layers, including the Joomla cache, CDN cache, and browser cache, so you are viewing the site's current state.
- Scan the site visually. Click through key pages and look for missing images.
- Run a third-party broken link checker. A visual scan alone can miss issues. Consider running a website crawler such as Dr. Link Check, the W3C Link Checker, or Screaming Frog (free for up to 500 URLs) to detect broken image and link references across your site.
- Use the site normally for an observation period. Let real traffic and everyday editing exercise the site for a few days to a few weeks before committing to permanent removal.
- Empty the Trash. Once you are confident nothing was missed, permanently remove the trashed assets.
The MAP Trash is your safety net. Until an asset has been permanently removed, you can reverse any cleanup action by restoring the asset should you later discover a missing image or broken link.